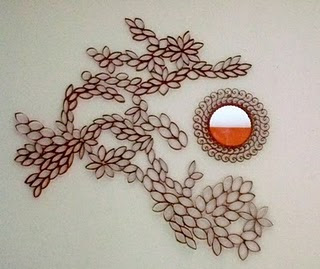
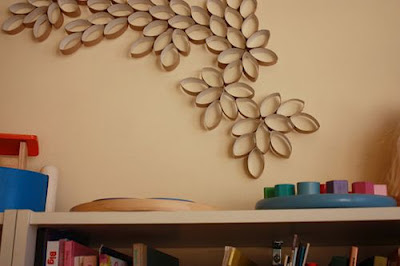
Bring the joy of the season directly into your house with homemade holiday decorations. The fun of making these beautiful holiday crafts is surpassed only by the enjoyment you will get from them throughout the holiday season. These holiday decorating projects can be made easily at home with your children.
Tableware
Dress up your table for the holidays with this lovely craft. Using velour, embossed metallic or holographic paper for this project will produce stunning results. Trace a unique pattern onto your chosen material. This can be a geometric design, floral pattern or seasons' greetings. Cut out the pattern from your paper and use as table runners and place mats to dress up meals during the holiday seasons or at a holiday party.
Falling Stars
Use metallic paper or mirror board for this lovely ceiling craft. Trace or create your own star pattern. (Note: this can also be done with a snowflake shape as well.) Using your pattern, cut out three stars from your chosen paper. Lay all three stars on top of one another, and poke small holes down the center using a needle. Starting from the bottom, sew a thread through the pre-punched holes until you've reached the top of the star. Leave some extra thread for hanging your completed project. Finally, gently pull apart each of the six halves of your star to form a three-dimensional star ceiling decoration.
Styrofoam Snowman
Kids love building snowmen, and here is one that you can make all year round, regardless of the weather outside. Using three different-sized Styrofoam balls, hot glue one on top of the other in ascending order (largest one on bottom). Alternatively, you can use toothpicks to keep Styrofoam balls together. Use felt or velour paper to make a top hat, scarf and buttons for your snowman. Don't forget the carrot nose, eyes and arms. Using bendable wire or lacing, you can make your snowman hold a name tag, greeting, or sign.
Custom Gift Wrap
Any gift item will be graciously received when wrapped in your own custom-made gift-wrap. Use holiday-related stencils to trace images onto ordinary paper, and a ribbon to dress up a plain package. Draw, trace and cut out fitting shapes and words directly on the wrapping paper or on separate specialty paper and glue on to decorate the entire surface of your gifts.
Personalize each gift-wrap to fit the person or gift inside. And don't forget the bows! In conjunction with this theme, you can also use your custom gift-wrap to make personalized gift boxes. Recycle old containers and boxes, converting them into stunning gift boxes with the above technique.
Snow Globes
Create your own miniature winter wonderland with this simple craft. You'll need a plastic bubble container (like the ones found in toy vending machines) or a glass jar with a tight-fitting lid, glitter, hot glue gun and a holiday appropriate character. Hot glue the holiday symbol to the top of the container cover. Sprinkle colorful glitter into the clear bottom part of the bubble container or jar. Fill the container or jar 3/4 full with water or baby oil. Hot glue the cover, inverted, into the clear part of the container. Shake and enjoy watching the magic.
Optional: Spray small amount of spray adhesive into a cup and apply using a toothpick or brush onto the clear part of the container. Stick a small amount of the glitter to the interior walls before adding all the glitter and sealing. This will leave your snow globe sparkling even when it hasn't been shaken up.
Bead Napkin Rings
Dress up any dinner or party table with these colorful and simple napkin rings. String brightly plastic beads (around 10-12) onto the center of a pipe cleaner. Now make a twist in the pipe cleaner to secure the beads in place, and, at the same time, creating the circle of the napkin ring. You can repeat this step for a double loop or skip to the next one. Curl the ends of the pipe cleaner around a pencil for decoration, and your festive napkin rings are done.


